Ever wonder how one step on a squeaky floor can make such a loud, piercing sound? A simple nail connecting the joist and sub-floor may get warped or fail out of place and once the nail is not in its place, the pressure against the Subfloor will cause that squeak, every time you step on that warped area. Until the problem area is addressed, underneath the flooring system, your problem will not fix itself and will only get worse.
There are many possible ways in which squeaking can occur, we dissect The Flooring System, and finding the culprit area may involve trial and error methods. The Flooring System has 3 main components:
- Main Flooring – top layer (hardwood, laminate planks, vinyl, tile, etc)
- Sub-Flooring – middle layer (plywood or composite)
- Joist – bottom layer (wooden beams, steel, concrete)
A seamless grouping of the three will provide for a solid, well-built flooring system and will result in a squeak-free home.

The main cause of wood floors squeaking is wood shrinkage around the nails and since there are many areas within the flooring system, where squeaking can occur, pinpointing an exact area may take a few shots or even lots of poking around. Once you have a good idea of where the squeaks are coming from, here are a few DIY ideas:
123 Remodeling’s To-Do Checklist
1. Shim the Gaps
2. Fill Gaps with Adhesive
3. Reinforce the Joists and Subfloor
4. Screw Flooring System (from below)
5. Screw Flooring System (from above)
6. Add Underlayment between Subfloor and Floor
Things you will need
- Stud Finder
- Electric Drill
- Tape Measure
- Screws (various lengths)
- Construction Adhesive (Liquid Nails)
Our Flooring Fix Checklist
1. Shim the gaps
Open areas between Joist and Subfloors. Add glue to the shims to add more protection.


2. Fill gaps with construction adhesive
Moisture, water-damaged wood causes bending and spreading, causing gaps to be formed. Constantly adding pressure, walking over the area will develop gaps of separation.

3. Reinforce the squeaky area
Nailing a 2×4 as added support alongside the Joist and Subfloor. Using adhesive to reinforce the connection.
Subfloors- position a wooden block against the Subfloor seam, glue surrounding edges, and screw diagonally.
Use a 2×4 alongside the Joist and Subfloor to reinforce a squeaky area to measure the width of the area between the Joists and secure with nails and glue along the seam of the Subfloor.


4. Screws in the flooring system (from below)
If you access to your flooring system from the Joist? Using a drill bit and be aware of the thickness of the Subfloor and Main Flooring levels. After finding the general area, space out each screw about 6 inches apart.


5. Screws in the flooring system (from the top)
There is a chance that one does not have access to The Flooring System from the bottom. If this is the case, there is an answer to tighten the subfloor to the floors with this kit, “Squeeek No More” prices start at $14.95 via Amazon.com. This will connect the sub-floor with the main floor, all from the top when you don’t have access to the floor from the bottom. Pre-drill the length of the screw, located the joist, using the different lengths you will tighten up where you need it most.

6. Add underlayment between subfloor and floor
Materials include Plywood, Fiberboard, Cementboard, or Cork about .25 – .5 inch thickness. Getting popular as a “buffer” for sound and increased stability for tile, vinyl, and laminate flooring. Hardwood and engineered wood flooring do not need an underlayment layer, just a layer of resin paper is all that is needed. An excellent solution to protect flooring from moisture elements, absorb sounds, a better place for ceramic tile to stick on to. Highly suggested to new installation or home construction.


We hope that you enjoyed and learned a few things about The Flooring System and what you can do to win the battle against squeaky floors. Here we discussed 6 different methods to decrease the amount of squeaking in your household. All 6 of these can be used in conjunction, as pinpointing the exact source of a squeak may consist of trial and error to the many different areas, before finding the solution to yield a noise-free flooring system.
123 Remodeling would love to hear from you, as we are looking to create a guest’s list of ideas and write an article dedicated to your ideas. See our recent blog posts or leave a comment below with your ideas, we will send you a note when we publish our next post!
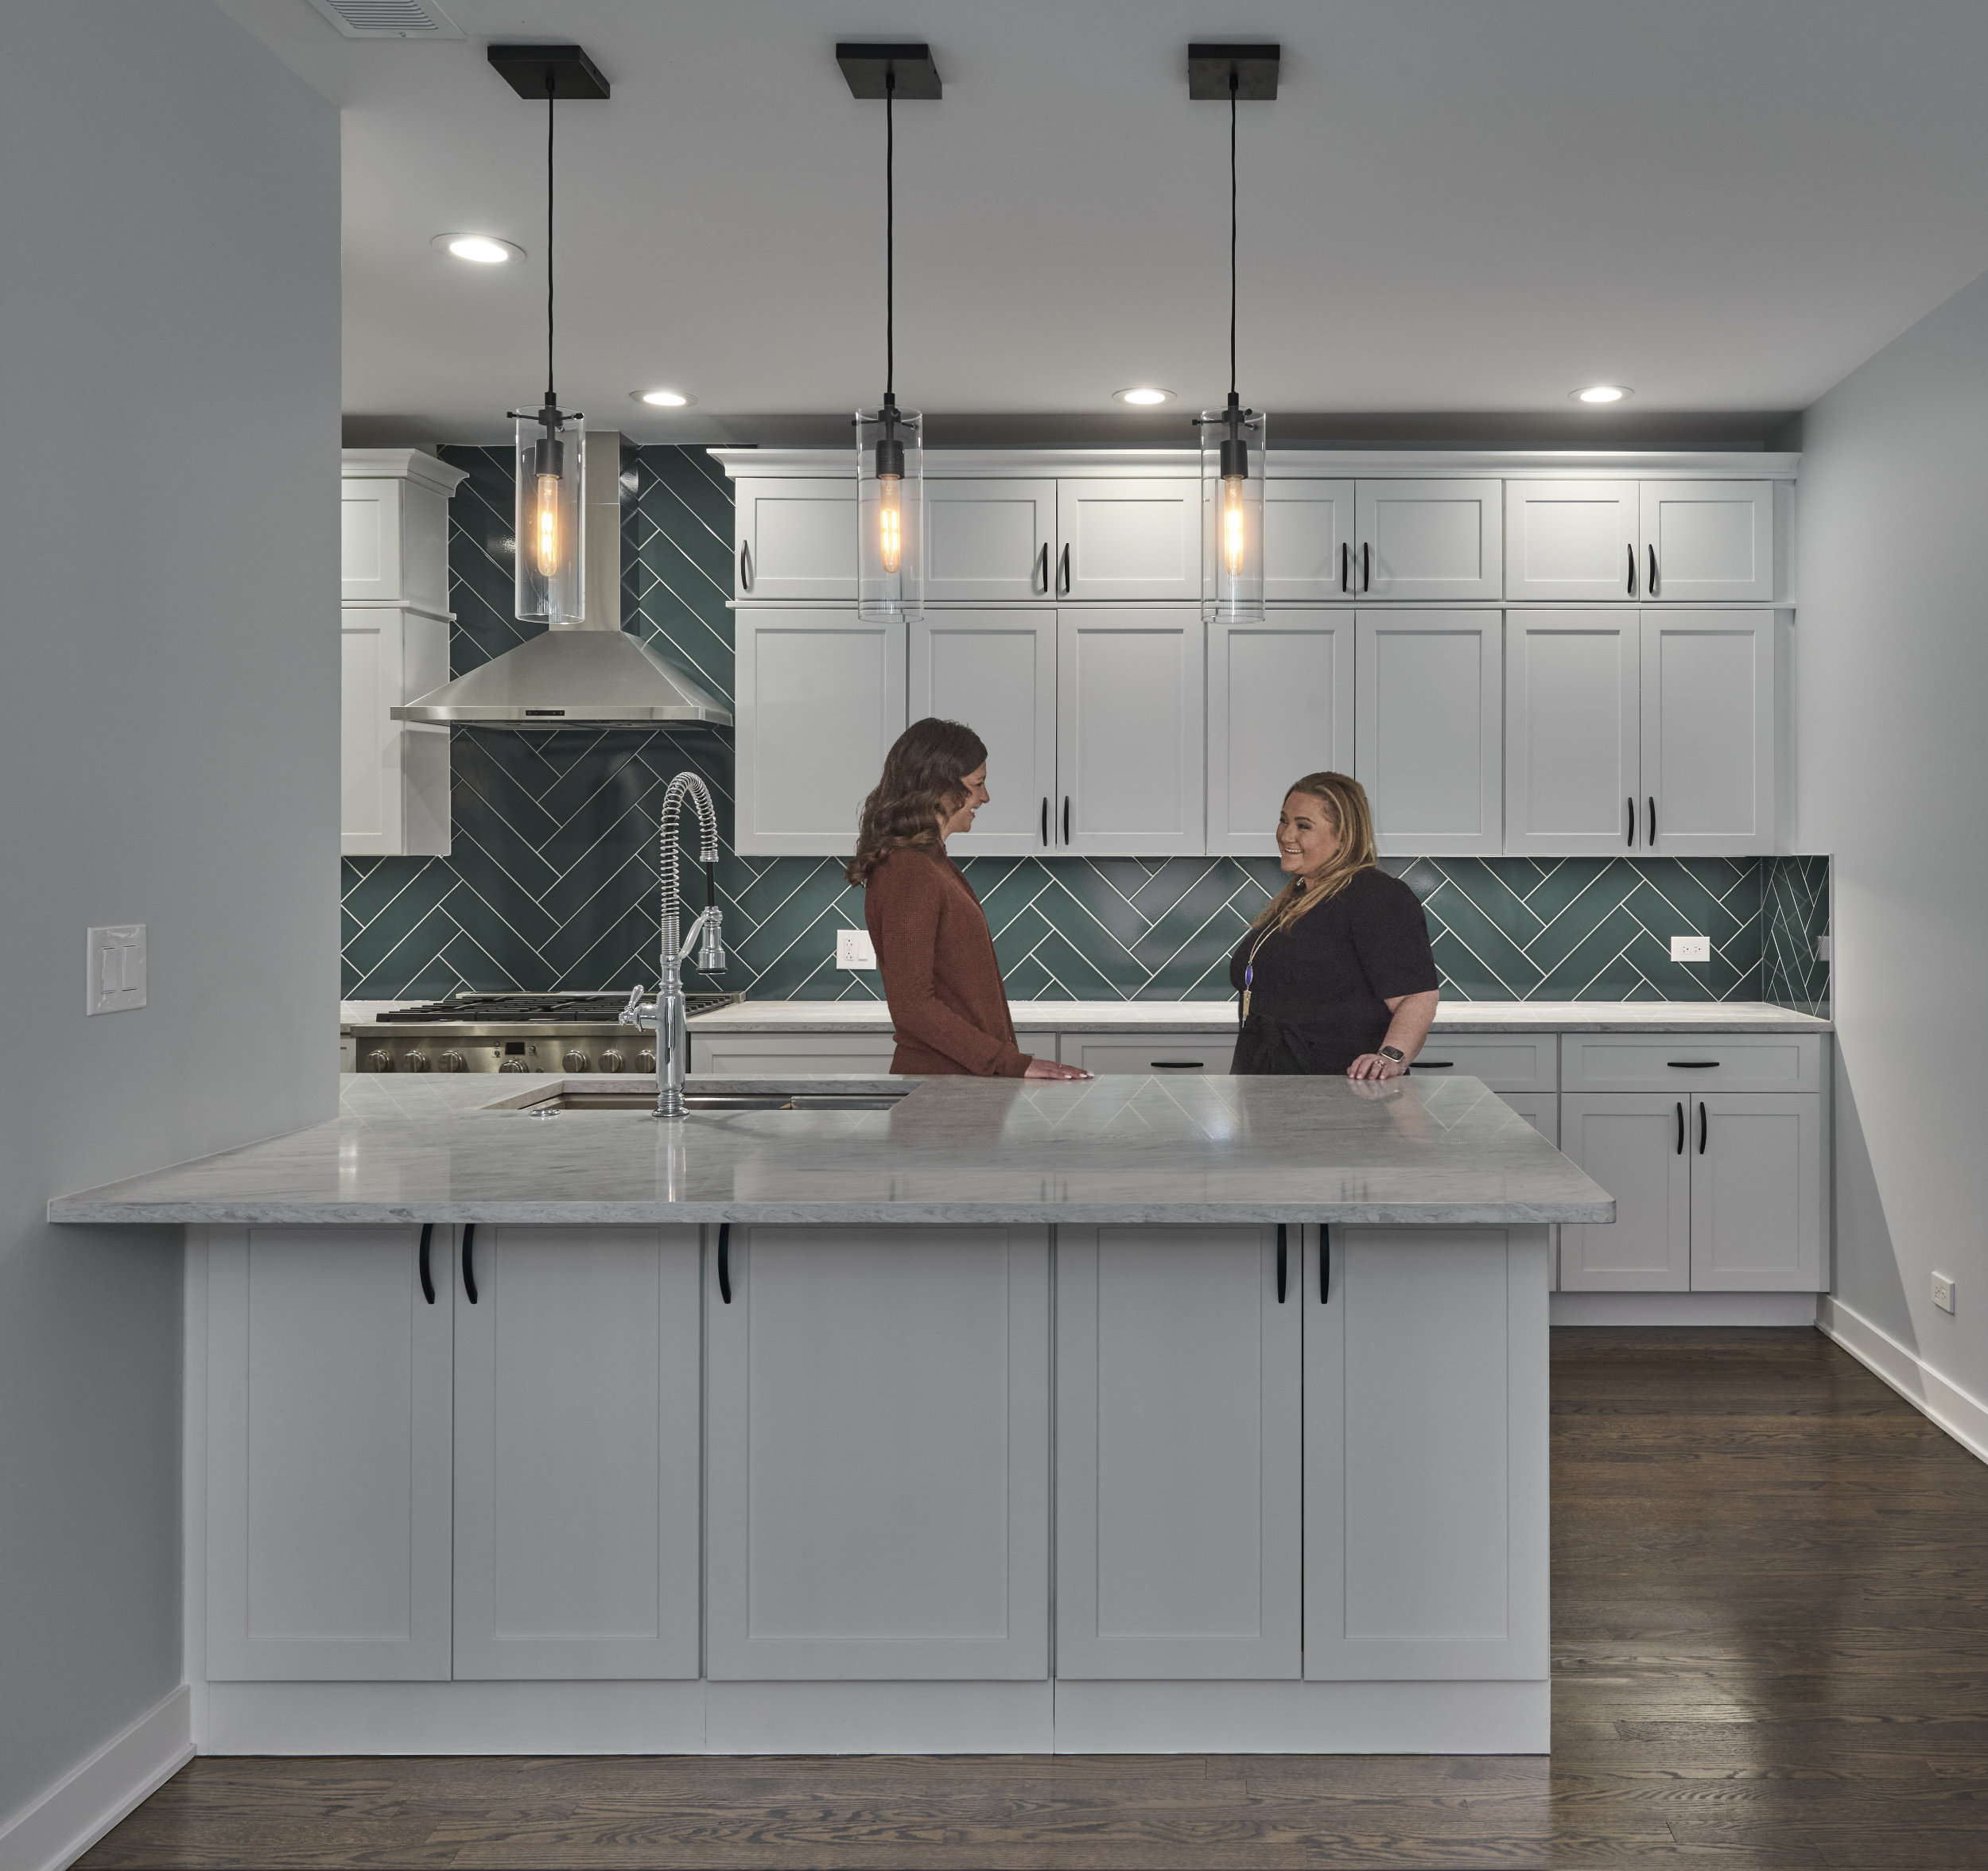
If you live in Chicago or the surrounding area, consult 123 Remodeling with any questions or ideas for your next remodeling project at (773) 685-6095 or schedule online using our contact form.